
Lets review the plan for this first. All measurements are in standard form and need to be converted into inches if you don’t have the proper measuring tools that measure in decimal form. There are two types of pieces to cut, a long side and a short side.
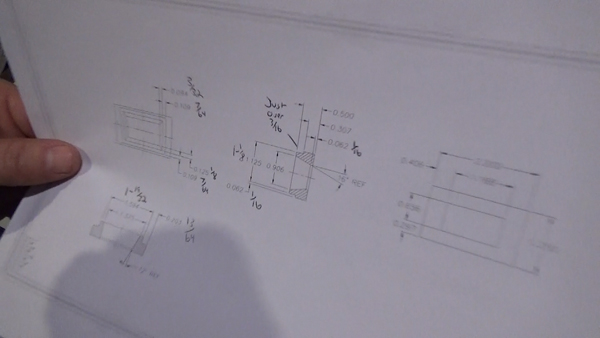
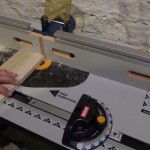
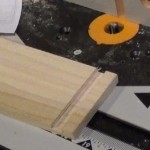
Our second step in this process is to take our piece of wood and use the router to put a groove into our plank just bigger than 3/16″ deep. The actual plan calls for this to be a bit bigger so it will stick out enough from the two domes on final assembly.
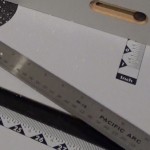
Once the groove is cut, we measure 7/64″ from the right edge of our router cut, and 1/8″. We use our small ruler to do this with the 1/32″ marks, and since we are measuring in 64ths, we know this mark will be in between 3/32″ and 1/8″ (4/32″). Get the Rafter Square to do put straight lines down the right side of the board at these markings.
It’s time to cut these pieces to the dimensions we just marked, using our Miter Saw. We start with the mark that is 1/8″ from our router edge. This will be the flat 1/16″ portion of the inside of our surrounds according to the plan. The blade of our saw is about 1/8″ thick, so be sure your blade is to the right of this line, or your cut will be 1/8″ smaller than planned. Once this is cut, we angle our saw to 16° and cut this piece, again lining our blade to the right of the mark.
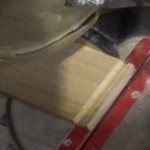
With our 16° angle cut, we will align our blade with the left side of the router cut on our wood. We can either get the exact measurement for this side, which is 1/16″ to the left side of the right sided portion of the router cut, or just cut our piece from the left side of the router cut flat and use a dremel or possibly a jigsaw to cut our piece down to the proper sizes so it can fit into the dome.
We can now cut our 45° angles on both sides using the Miter Saw. We start with the right side edge of our piece close to the edge of our backplate on the saw and make our cut. We then measure 1-19/32″ from the long side of our raised portion of the piece, and cut this at 45°. This will give us our outside measurements of the surround that fits into R2s Small Logic Display port.
This gives us one complete side of our surround. 3 more pieces like this, and 4 more pieces for the 12° angle side that is 1-1/8″ long, and we can begin to glue the pieces together.
Part 3 of this tutorial is coming soon.