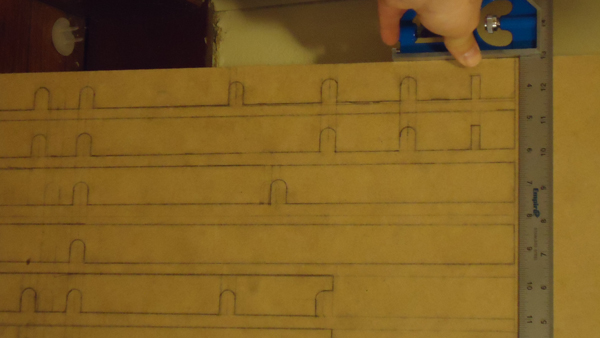
For this video, I made the templates out of MDF, however, it is better to make them out of at least 3/4″ plywood, if you plan to make another frame. It would come in very handy.
The plans for this can be found in the blueprints section of Astromech.net. I used the MHENKS plans and downloaded everything. Even the CNC stuff since it contained instructions. Start out by tracing your lines on the MDF. I suggest using the middle ring as a constant guide. After doing this video, I discovered some easier ways which would be to use the middle ring for a majority of template creation as it is easier to make every piece identical off of the middle ring with the exception of the length of the slots.
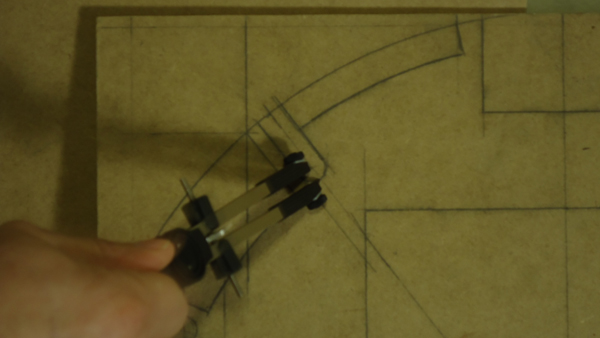
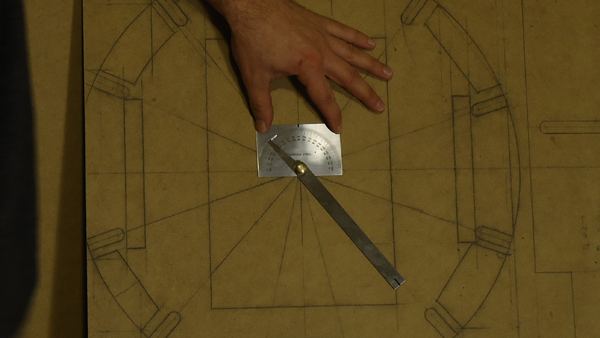
Get a good center point and find the zero angles first based on the Plans.
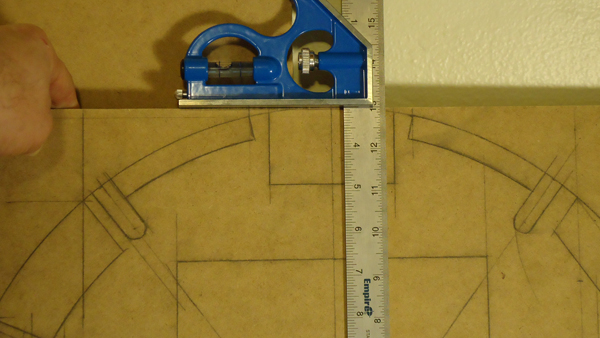
Draw out the other detail with your ruler.
The uprights should be created off of the long upright with the most slots in it and the upright with only two slots. My video is how I first made them, but it is easier with this method described. This is why MDF is suggested since it is cheap and a good way to learn.
I used a compass to locate the postions of the end of the slots. A dado blade can also be used, but be sure to follow the plans.