The R2D2 Wood Senna Frame Part II

The following video is just to be used as a rough guide.  I have since figured out a better way to make all the cuts into templates rather than draw them all out.

Use the middle ring template as a way to cut the slots for the shoulder wings, quarter wings, and 1/8th rings.  This will also work for the curve to make sure it is exactly the same.
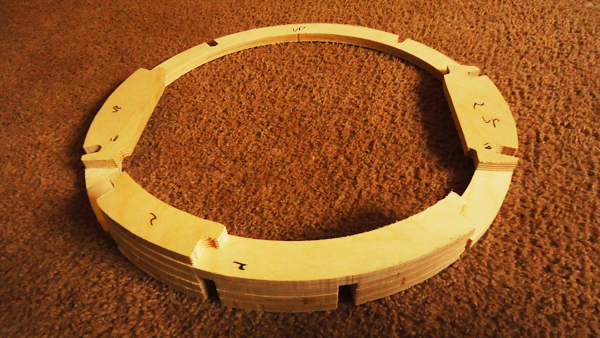
Rings and Wings
Quarter rings, Eighth rings and Shoulder Wings.

All of these were cut from the middle ring.  I used the middle ring as a guide and it gave me perfect dimensions for all rings to be cut.  The same can be done for the shoulder wings front portions with the slots.  If you make a center line on your bottom plate, you can use that to draw the basic shape of the shoulder wings, including the portion that goes into the the side plates.

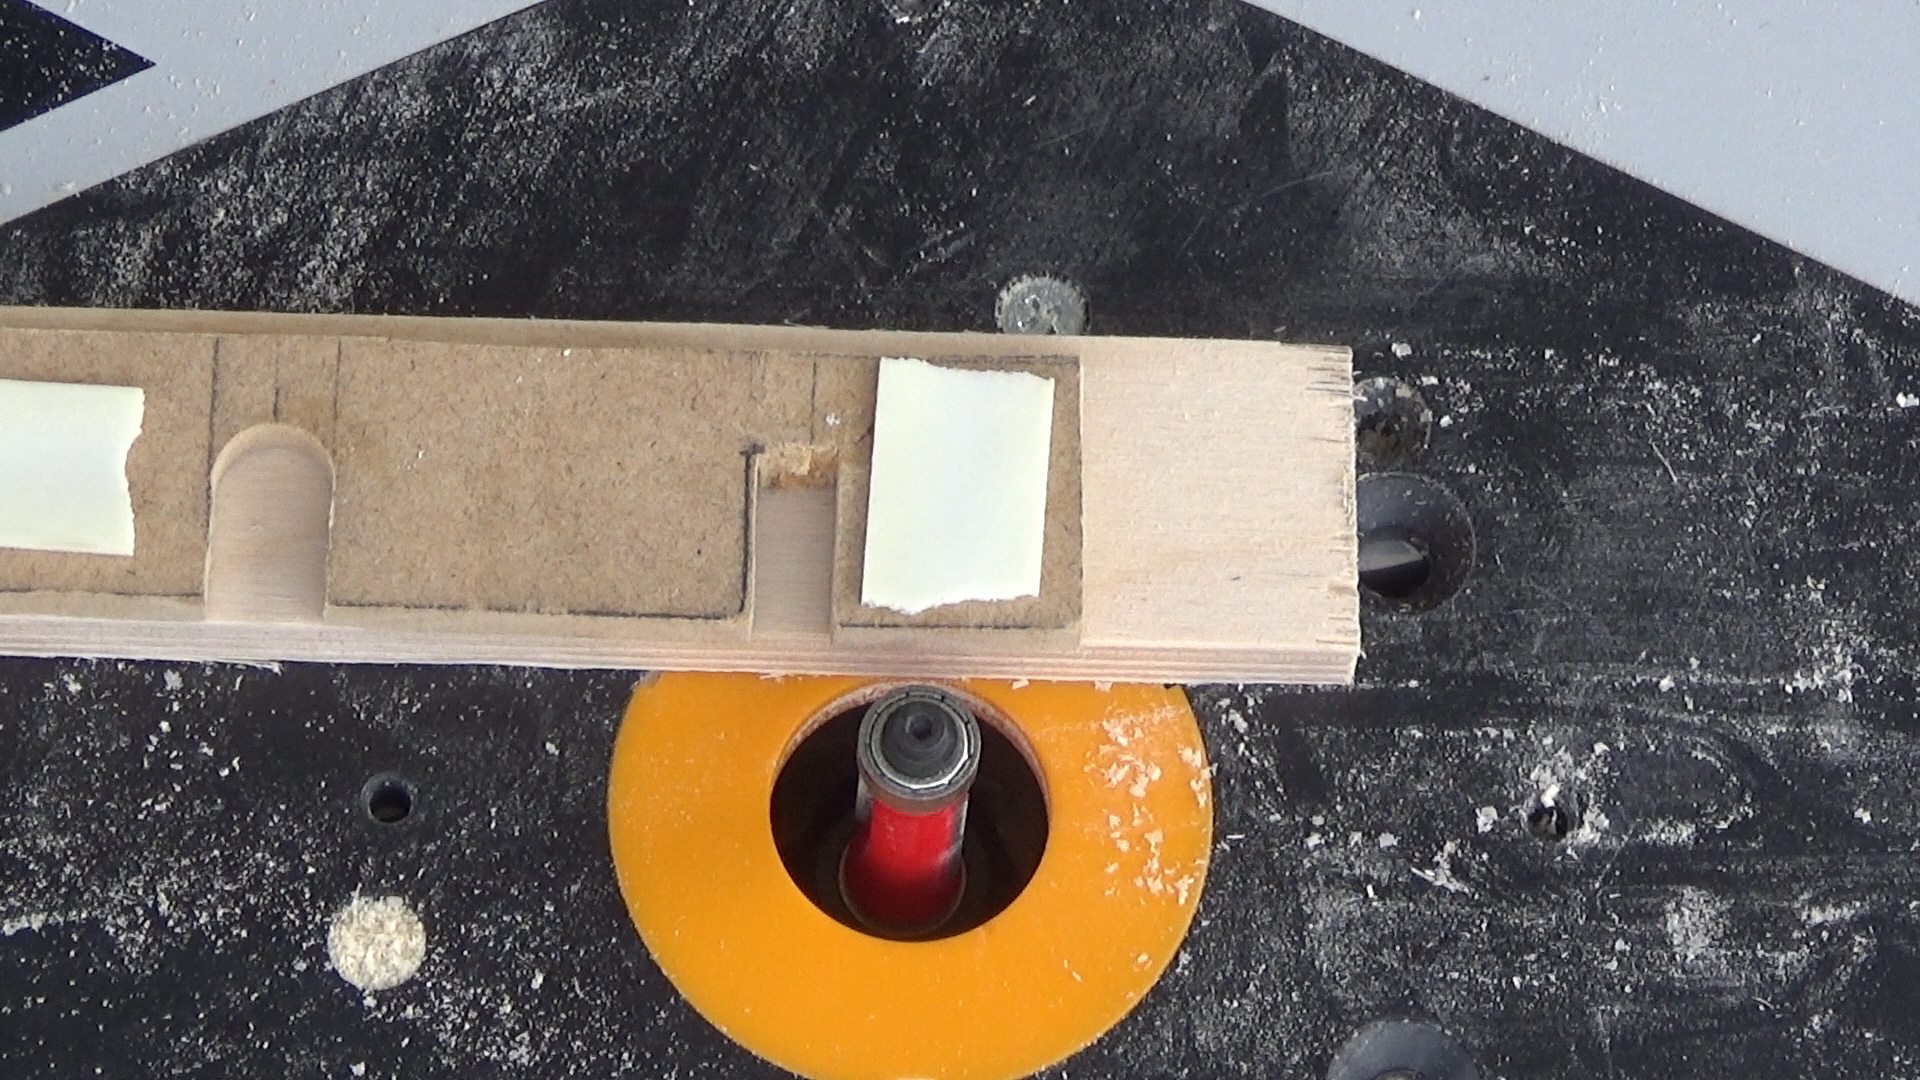
Below shows how I cut around a slot I do not want cut into the wood.  A simple piece of wood across the slot will work as long as the bearing on the bit is raised to that point.  Do not go all the way around like this or you will mess up your template and the work piece at the same time.  See this at 3:55 into the above video.
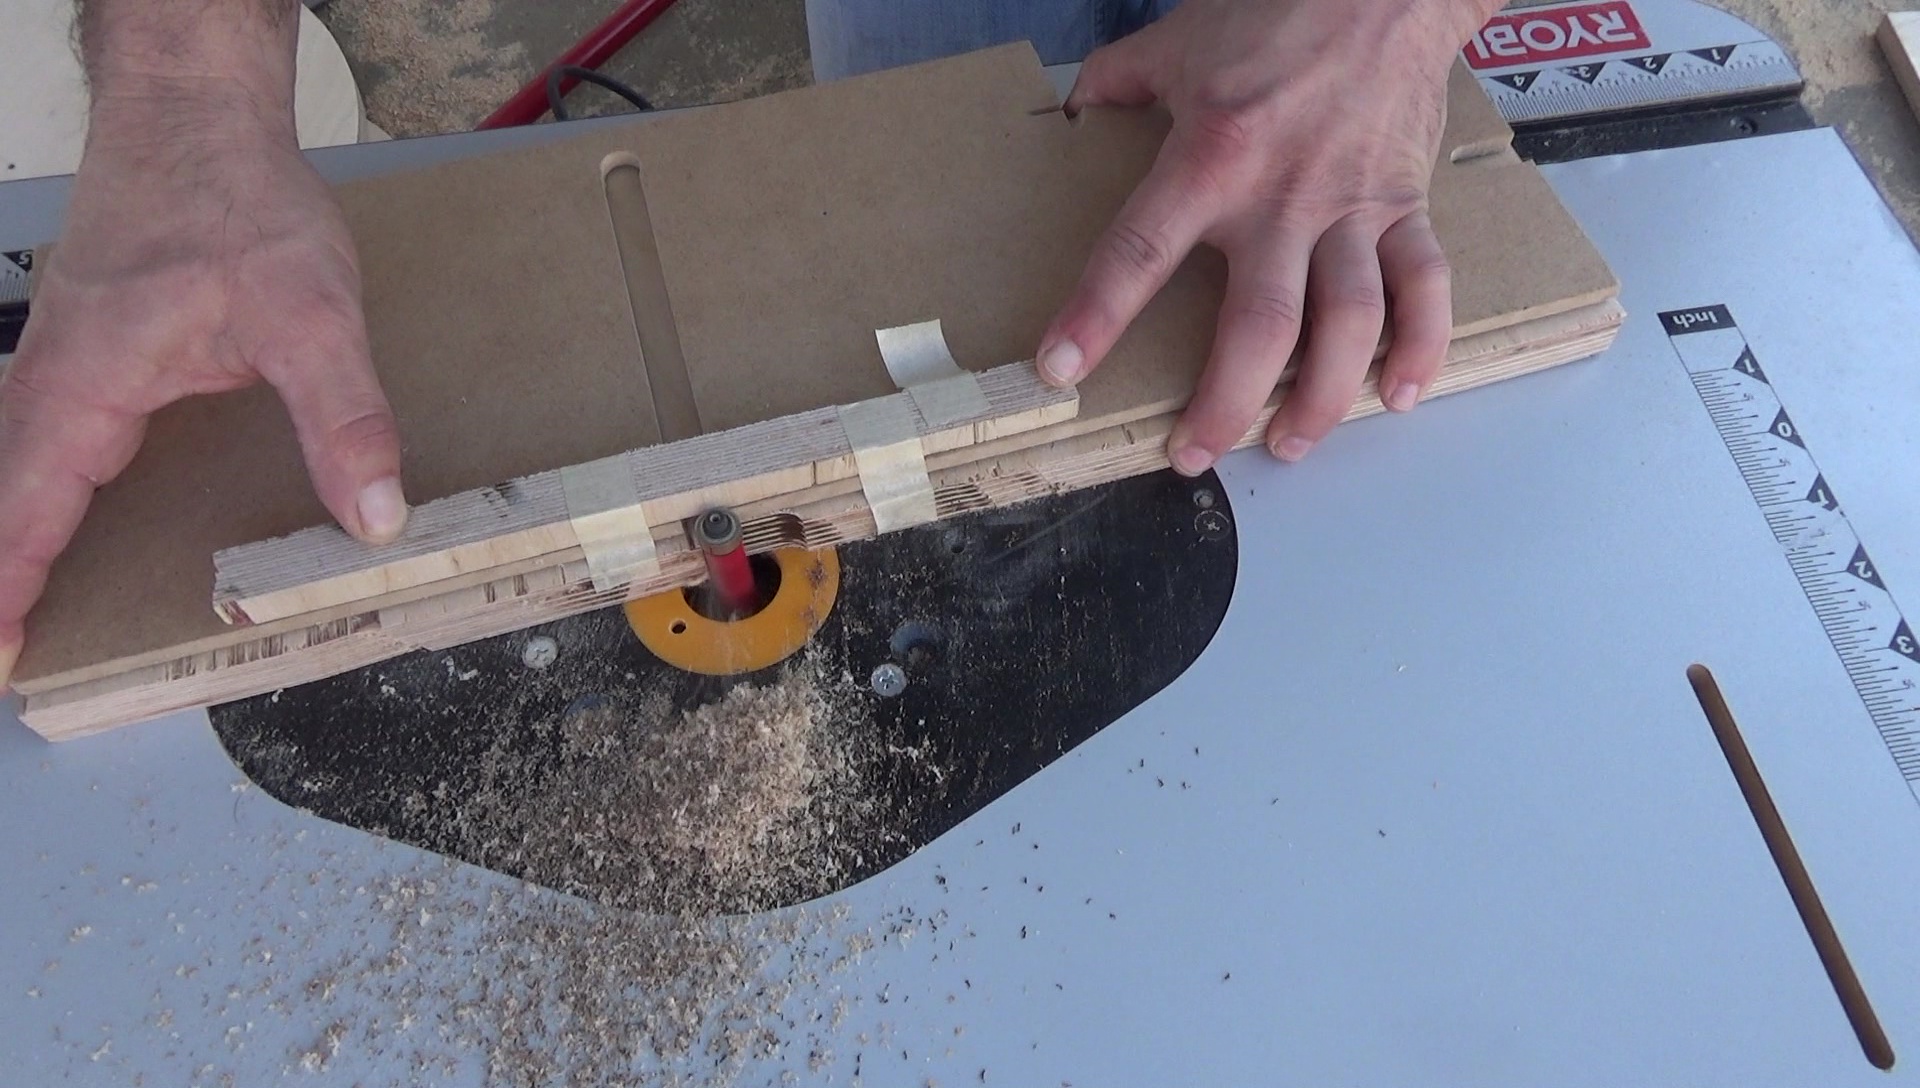
Stick blocks cutting
Stick to go around unwanted cuts

Cutting the slots for the side plates is not to difficult.  Use your jig and set the router properly.
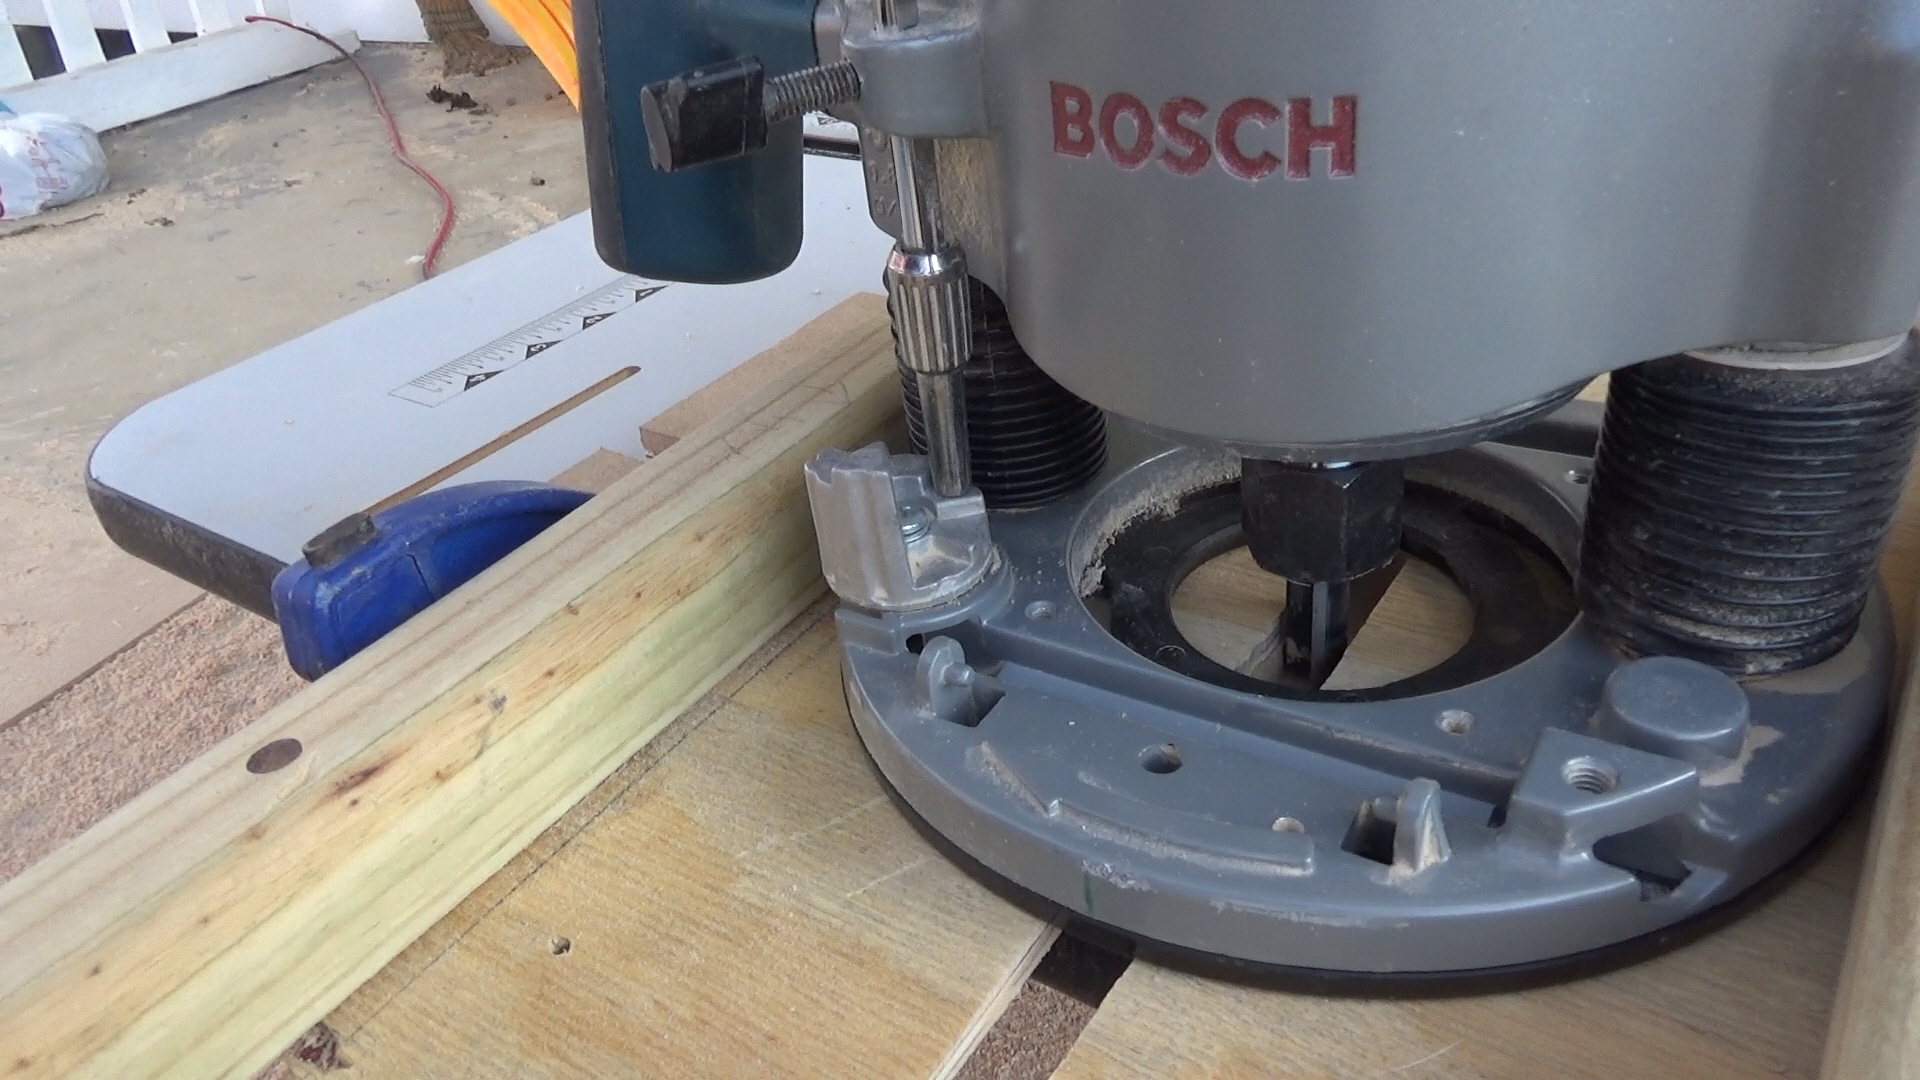
Router bit on work piece

Lower the router onto the work piece and lock in place.
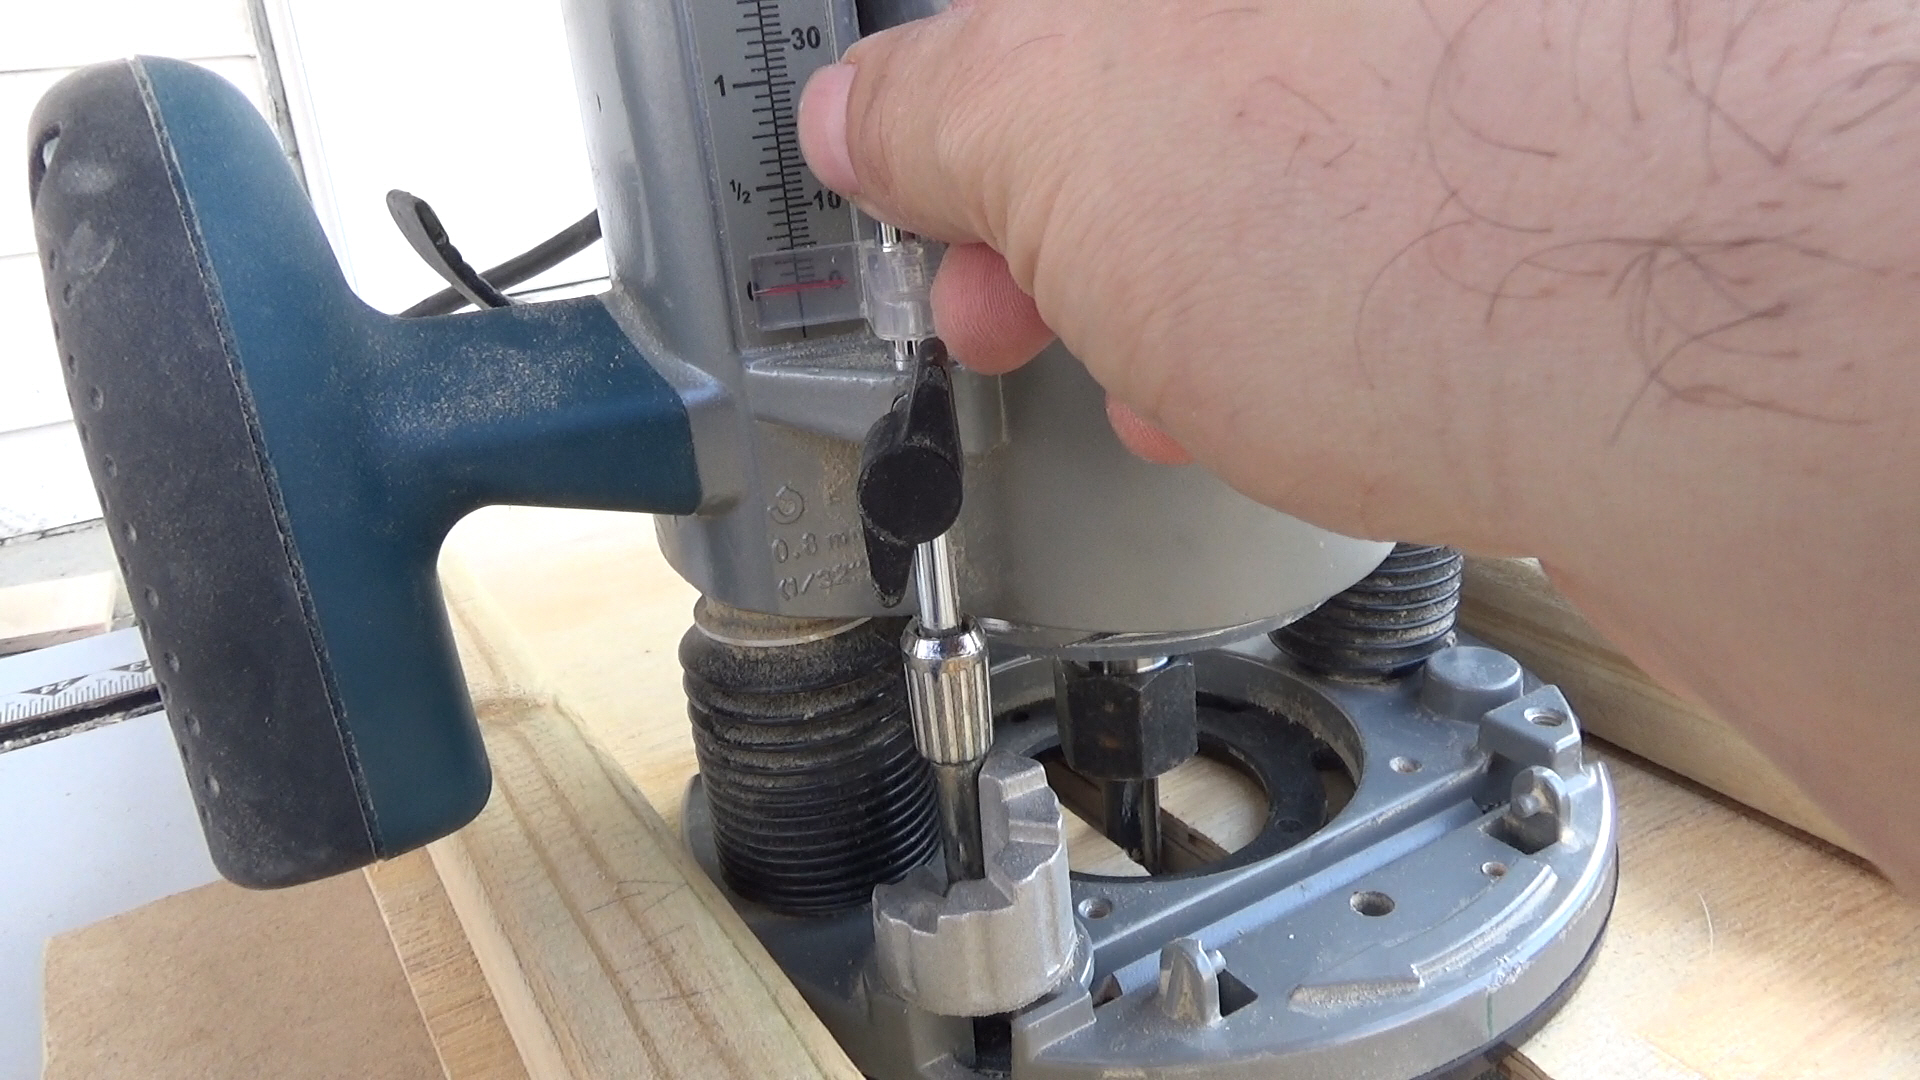
Depth turret turned and rod zeroed
Turret turned and rod zeroed out

Turn the Depth Turret until the Depth Rod hits the lowest point, with the router still plunged into the workpiece.  Lock the depth rod with the lever.  Move the red mark to “0”.
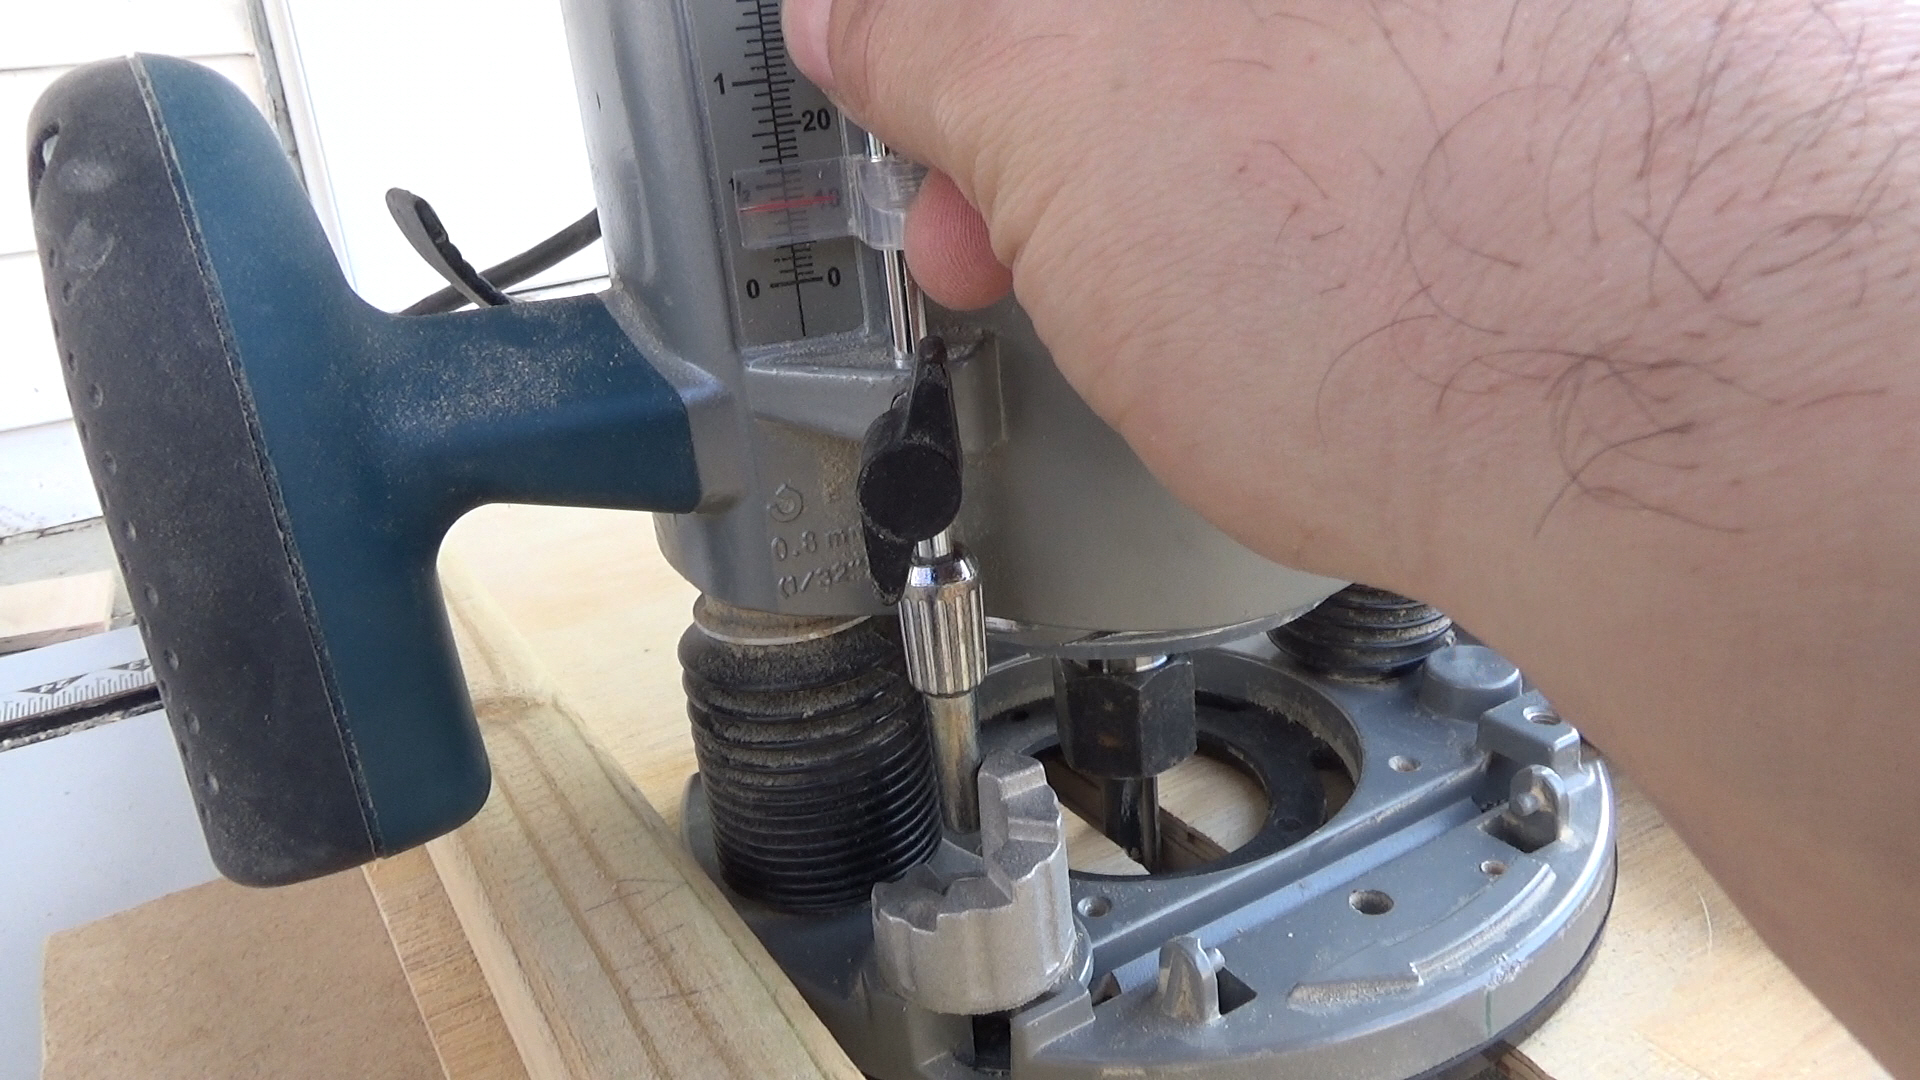
Lock depth rod
Lock depth rod at desired height

Unlock the Depth Rod, and pull up on the rod until the red line is at your desired depth of cut and relock the depth rod.  Now make your cuts.


The R2D2 Wood Senna Frame Part I.

The wood Senna frame is made from high quality Baltic Birch Plywood.  It is cabinet grade plywood and built to last.  If you ask any builder if a substitute can be used, more than likely, the response will be, Baltic Birch is best.

For this video, I used my MDF templates. I recommend if making a frame from templates, use 1/2″ MDF. The 1/4 has to much give to it and mushrooms at the top.  The 1/2″ allows the bearing to sit in the middle and not mushroom the ends.  It is also a good idea to use the templates as outline drawings and trim each piece of wood first with a band saw or jig saw.  This makes the process go alot faster and will not destroy bits as fast.

If you have skins, this will help make a frame.  The important thing is the upright placement.  The best way to achieve this is to make a template of just the slots with a cutout of 1.26″ according to the bottom plate plans .  Remember, this is to fit the entire depth of the uprights.  If you use a router the total slot length will be longer to accommodate radius of the bit.

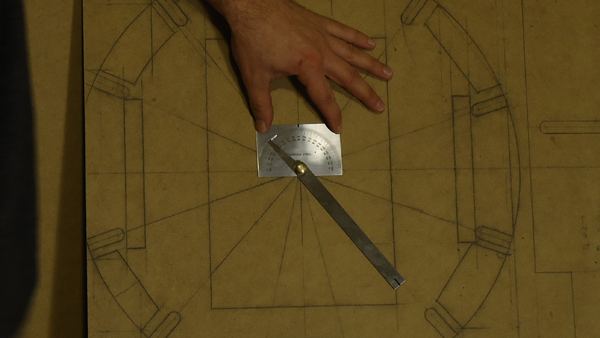
Protractor
Find Angles with a Protractor.

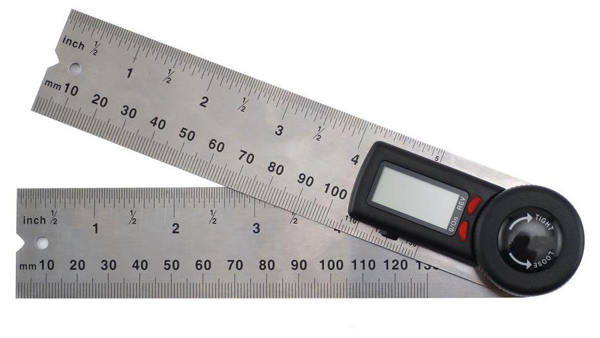
The use of a digital protractor will be easier to make the proper marks.

Digital Protractor
Digital Protractor

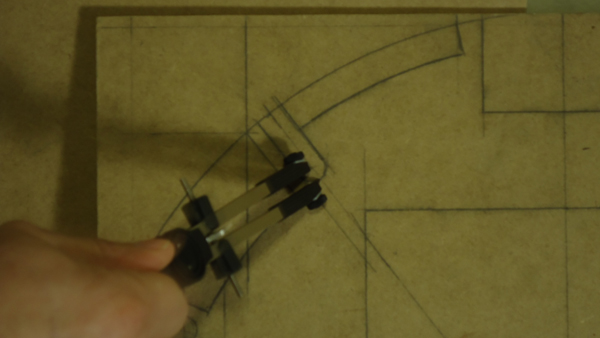
The compass marks are just to show roughly how far you need to make your cuts when using a router.

Radius cut
Radius cut for the slots.

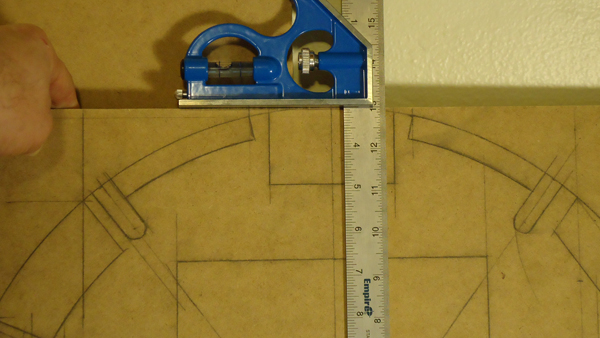
Make sure you have the centers located and properly marked. This will help with making future cuts.

Base plate
Marking the Top and Base plate.

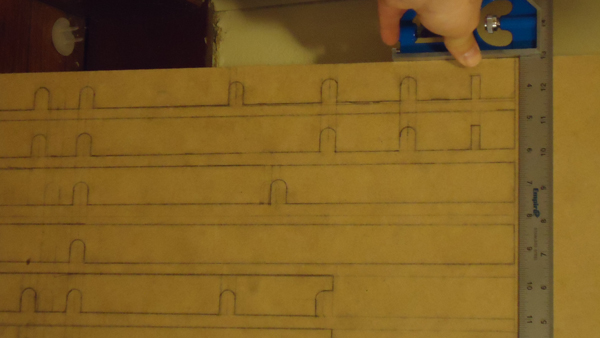
Start with the uprights.  In the video, I show all the uprights drawn out.  Since then, I discovered it is easier to make one upright with as many slots cut out as possible and use this as a rough template.  This makes it easier to guarantee proper alignment, since you are using the same slots instead of drawing out each one like I previously did.

Marking uprights
Marking the uprights.

In the above, all slots are marked out.  This is not as necessary.  If you use a router and cut your wood uprights just bigger than plan, you can use the longest upright as a guide to create all the others.  Just work slow with the router and remember what slots you are cutting first, and to raise and lower the bearing bit accordingly.  As long as the flat side stays flat, messing up what slots go where is not a big deal. The flat side is where the skins attach so that is more important.

Secure all templates with double sided tape.  Make sure the ends have tape and use it frequently to keep the template and work piece from shifting.  Never reuse any piece of tape.

Tape Placement.
Proper tape for template.

The ends need to be secured properly to prevent the template from slipping and causing your hands to possibly be thrown into a moving router.  This has happened to people and you too could end up with a frame costing over $20,000 due to medical expenses from near loss of limbs.

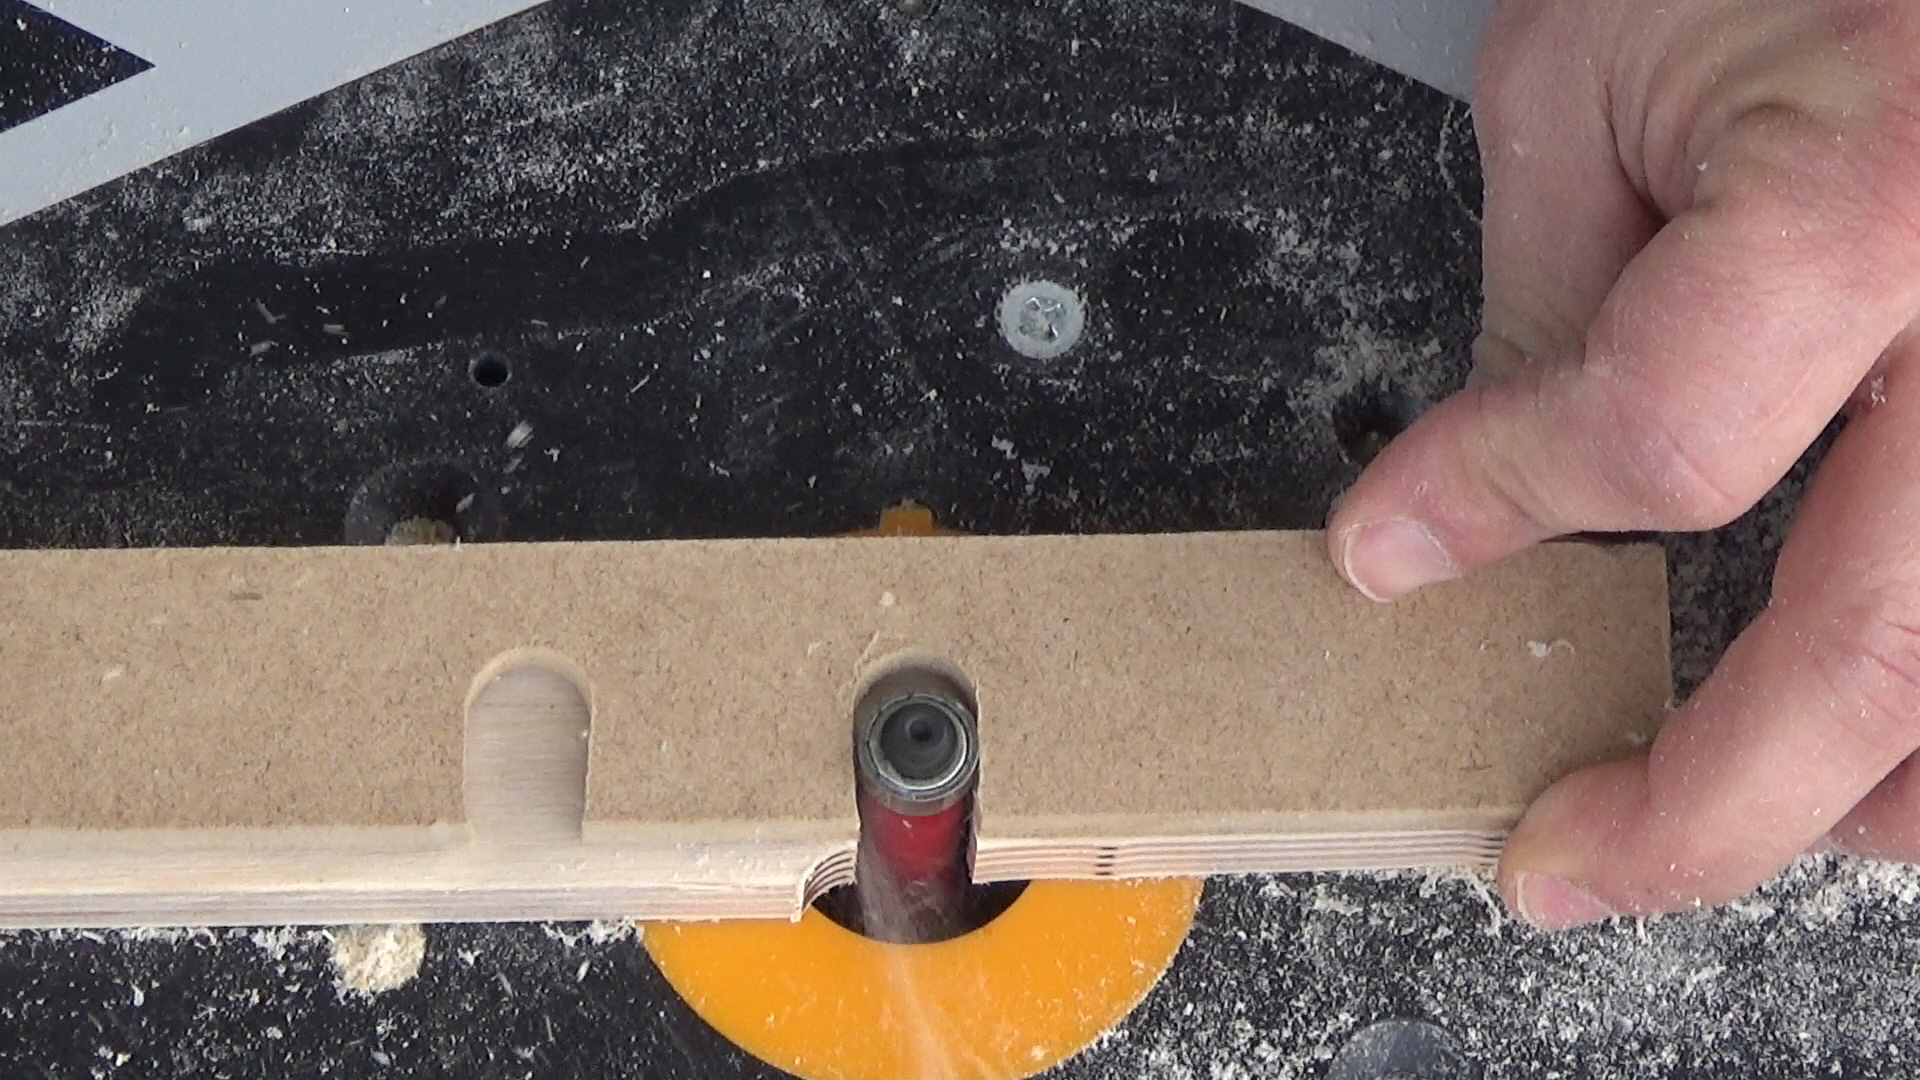
Cutting from upright template
Cutting slots from upright template

Cut slots using one to two templates, depending on their sizes.

Cut slots from template
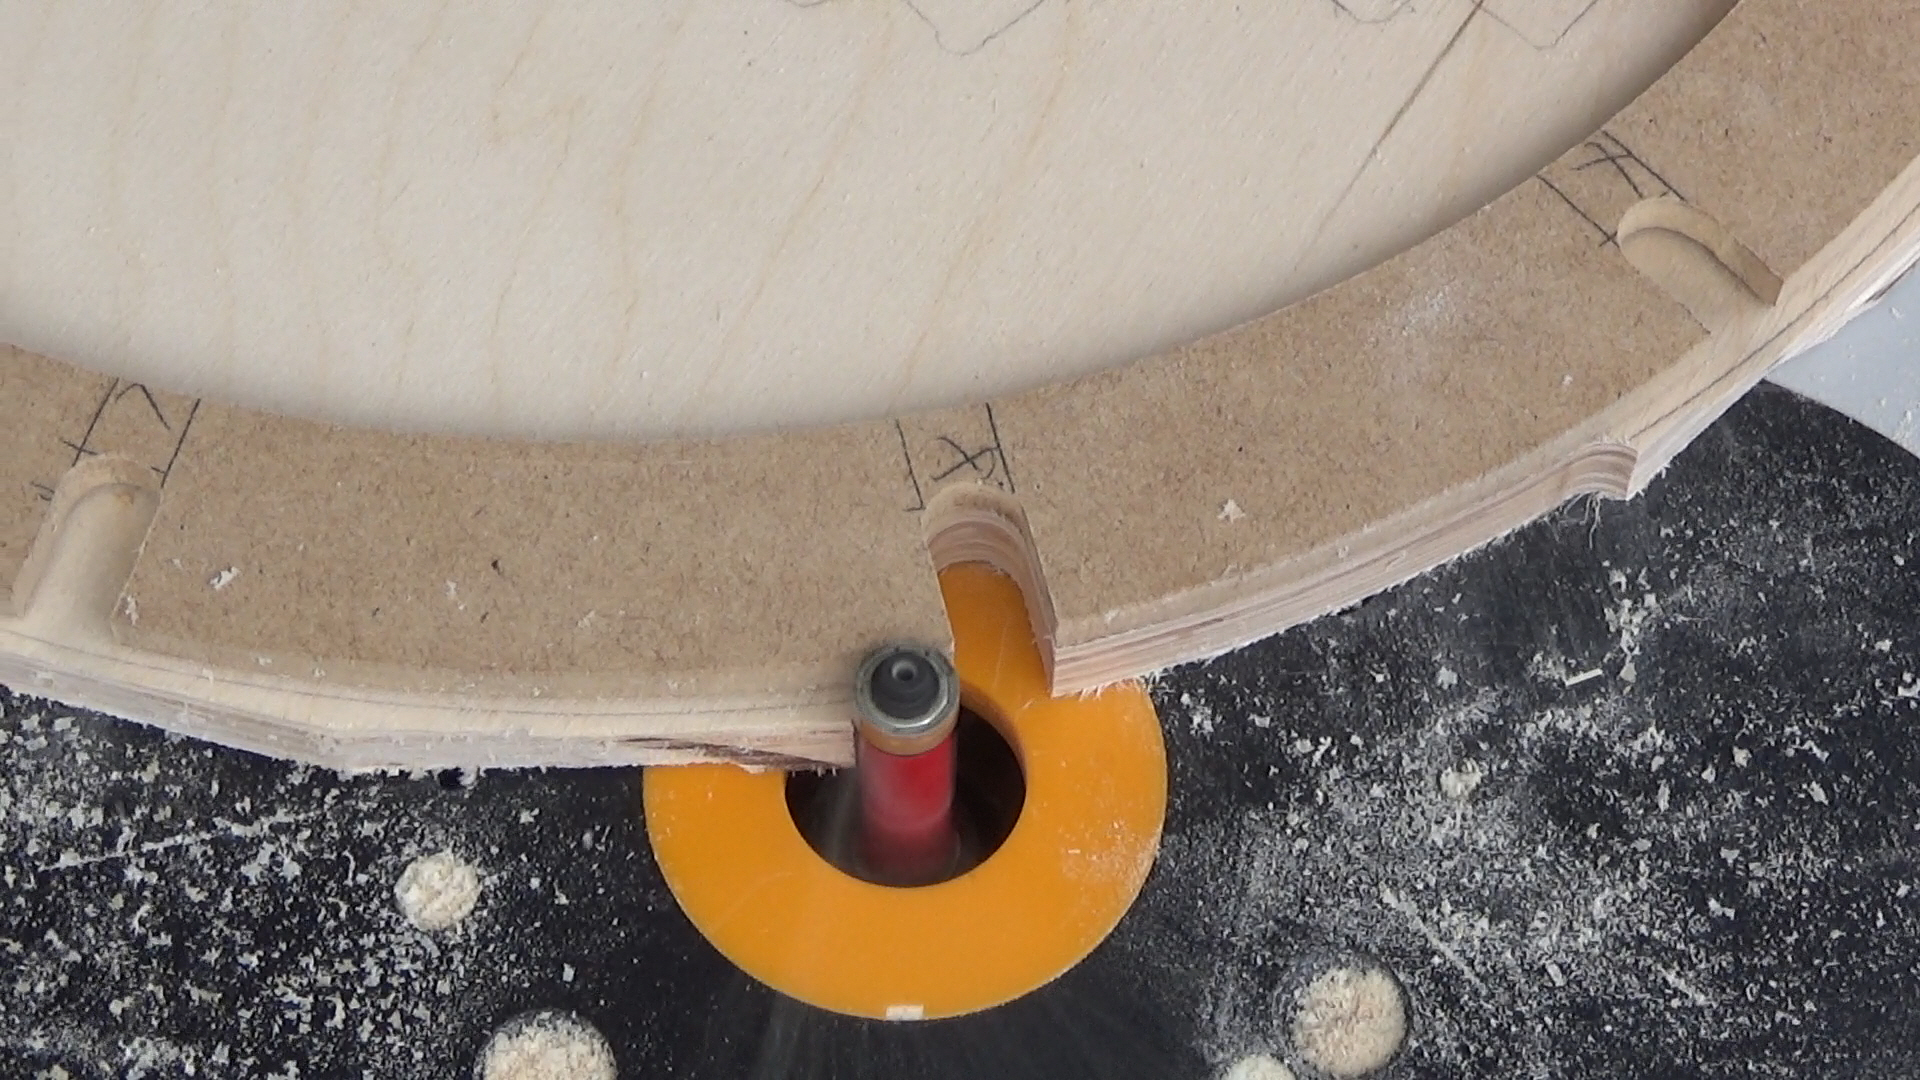
Cutting all slots from ring template

All slots should be cut from the same ring to guarantee the same alignment.

The R2D2 Wood Frame Templates

For this video, I made the templates out of MDF, however, it is better to make them out of at least 3/4″ plywood, if you plan to make another frame.  It would come in very handy.

The plans for this can be found in the  blueprints section of Astromech.net. I used the MHENKS plans and downloaded everything.  Even the CNC stuff since it contained instructions. Start out by tracing your lines on the MDF.  I suggest using the middle ring as a constant guide.  After doing this video, I discovered some easier ways which would be to use the middle ring for a majority of template creation as it is easier to make every piece identical off of the middle ring with the exception of the length of the slots.

Get a good center point and find the zero angles first based on the Plans.

Protractor
Find Angles with a Protractor.


Draw out the other detail with your ruler.

Base plate
Marking the Top and Base plate.

The uprights should be created off of the long  upright with the most slots in it and the upright with only two slots.  My video is how I first made them, but it is easier with this method described.  This is why MDF is suggested since it is cheap and a good way to learn.

Marking uprights
Marking the uprights.

I used a compass to locate the postions of the end of the slots.  A dado blade can also be used, but be sure to follow the plans.

Radius cut
Radius cut for the slots.