Scratch Radar Eye Part II.

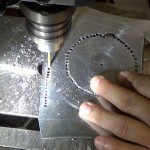
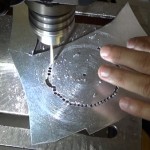
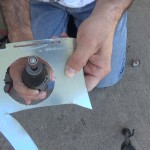
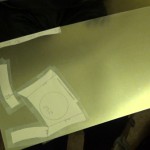
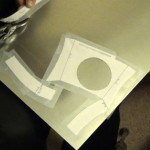
For part two on scratch building a Radar Eye,  you will need to find a way to cut out the circle for the Radar Eye.  The first method I tried did not work, so I had to go to plan B.  This involved cutting small circles around an etched circular line on the sheet metal.  I drilled all the holes  around the sheet metal and for the slot.Watch Full Movie Online Streaming Online and Download

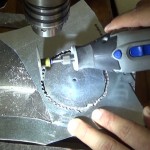
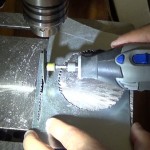
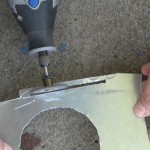
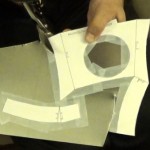
Once this is complete, I used a Dremel to cut the gaps out so I was left with an empty circle, and I did the same thing for the slot.  I was careful not to go to fast or I could  cut parts I wanted to leave.  A smaller sanding disc is recommended if one is available.

The following steps will smooth out the edges along the inside of the circle and the slot.  Use a sanding wheel and go around the edges to make it look pretty.  You may have to draw another circle around the eye to make sure you still keep the form.

Watch Part III for learning how to bond the seams together.

Scratch Radar Eye Part I.

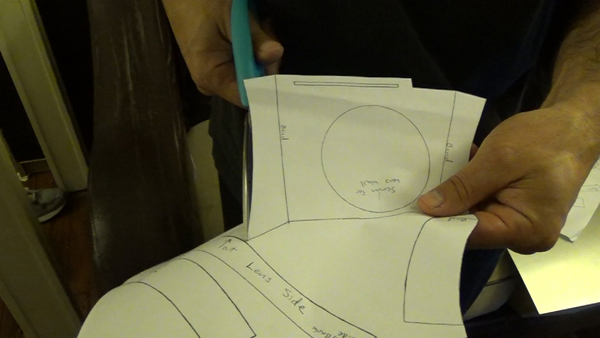
Radar Eye Pattern

Scratch building this Radar Eye is not the easiest thing to construct.  You will need the following to do this:

  • Sheet metal
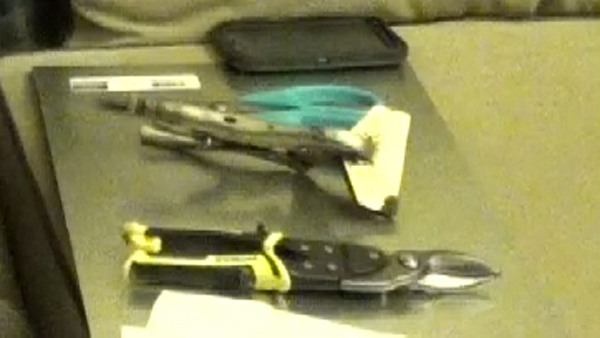
  • tin snips
  • flat bending tools
  • Radar Eye pattern
  • exacto knife
  • clear tape
  • scissors


Scratch Radar Eye Tools
Tools used to build a scratch Radar Eye

To start with, cut the pattern out with scissors and tape it to the sheet metal making sure it is secure.  Use an exacto knife to slowly trace around the radar eye circle and etch a line in the sheet metal.  This does not have to be perfect since it will get cut out.

Using  your tin snips, slowly cut the metal on the pattern.  You may want to secure the parts already cut with more tape since they will become loose as you work.  Once all parts are cut from the sheet metal,  use the exacto knife again to etch lines where the bends are supposed to be.

This is the first step in construction of the Radar Eye.  Part II will go over how to cut out the circle and the slot.


Tabs, Slag, and Deburring, Oh My!

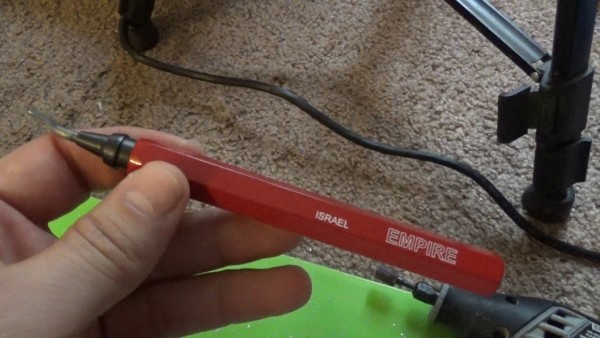
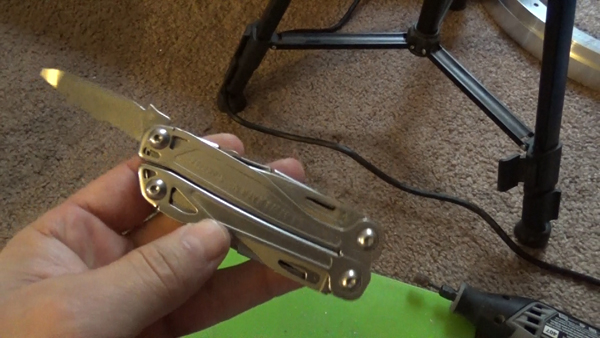
Removing the tabs required the use of my Dremel and slowly grinding them down until they were gone. To get rid of the slag, I used a file to scrape the it off until it was practically gone, and than a deburring tool was used to take off the remaining slag.

Deburing Tool

File on Leatherman